Default DNS Nameservers in cPanel
When you host a domain on your server, it needs default DNS nameservers to translate your domain name (like example.com) into an IP address that browsers can locate. By default, cPanel automatically assigns nameservers during setup, but you can review or update them anytime through WHM (WebHost Manager). Understanding and managing these settings ensures your websites are resolved correctly and remain accessible online.
- What are DNS Nameservers
- Common DNS Records Types
- How to View and Manage DNS Records
- How to Change the Default Nameserver Software in WHM
- How to Create Private Nameservers
- Why Use Private or Default Nameservers
- Summary
What are DNS Nameservers
DNS nameservers are servers responsible for managing DNS records for your domain. They act as a directory that converts your website name into the IP address used by web browsers. There are two main types of nameservers:
- Authoritative nameservers - Store DNS records and respond to lookup requests for your domains.
- Recursive nameservers - Query authoritative nameservers to resolve domains.
In most cases, your default DNS nameservers in cPanel are automatically configured and ready to use. However, advanced users or resellers may wish to customize them.
Common DNS Records Types
Here are the standard DNS records you'll manage inside cPanel's Zone Editor :
| Record Type | Description |
|---|---|
| A Record | Maps a domain or subdomain to an IPv4 address. |
| CNAME Record | Points one domain to another (alias). |
| MX Record | Tells the mail server responsible for handling incoming mail. |
| NS Record | Identifies the authoritative nameservers for the domain. |
How to View and Manage DNS Records
To learn more about how to view and manage your DNS records, please check the How to Manage DNS Records for Your Domain article.
How to Change the Default Nameserver Software in WHM
If you're using WHM (root access required), you can choose which nameserver software your server uses.
-
Log in to your Bluehost Account Manager.
-
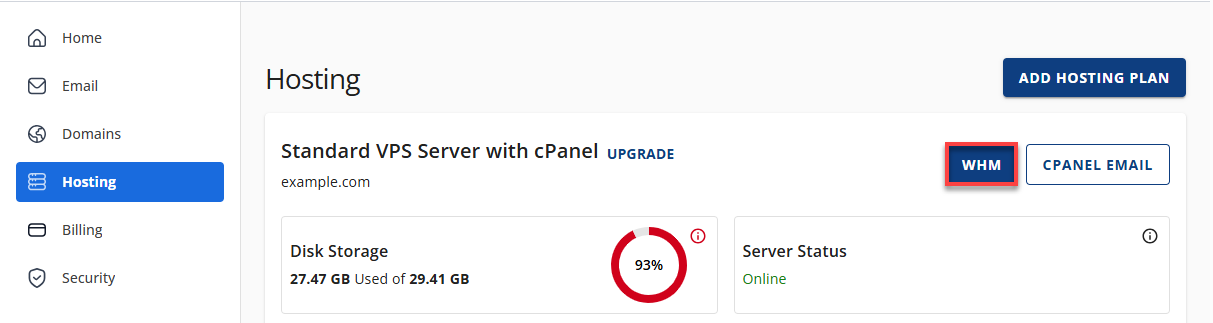
Click Hosting in the left-hand menu.
-
In the hosting details page, click the WHM button.
-
Go to Server Configuration -- > Nameserver Selection.
-
Choose your preferred nameserver system.
- PowerDNS is the recommended default — fast, reliable, and secure.
- Click Save to apply your changes.
Unless you have specific requirements, keep PowerDNS as your default DNS nameserver software. It's optimized for performance and supports modern DNS features.
How to Create Private Nameservers
To know more about creating private nameservers, please visit the VPS and Dedicated Hosting: Setting Up Private Nameservers article. Once you're done creating your private nameservers, it is also important to set them up on your domain registrars. You may check the VPS & Dedicated Hosting: How to Set Up Custom Name Servers article for more info.
Why Use Private or Default Nameservers
- Reliability - Default DNS nameservers ensure your domain resolves quickly and accurately.
- Branding - Private nameservers give a consistent, professional identity.
- Flexibility - You control DNS records and server settings without relying on third-party DNS providers.
- Simplified management - If you move your hosting, you can retain your existing nameserver domain.
Summary
Your default DNS nameservers in cPanel handle domain-to-IP resolution automatically, but WHM gives you full control to view, modify, or brand them. Whether you keep the default configuration or create private nameservers, managing your DNS through cPanel ensures better uptime, faster resolution, and a professional hosting setup.