How to Change File Permissions
Changing file permissions is essential for managing access and security in your hosting account. This guide will walk you through how to change file permissions using Bluehost’s File Manager, explain default permissions, and help you choose the right settings for your files and folders.
- Steps to Change File Permissions
- Default Permissions For Files and Folders
- Understanding Default Permissions for Files and Folders
- Summary
Steps to Change File Permissions
There are 2 ways to change the file permissions.
- Via Fix File Ownership
- Via File Manager
Fix File Ownership
Follow the steps below to change the file permissions using the Fix File Ownership option.
-
- Log in to your Bluehost Account Manager.
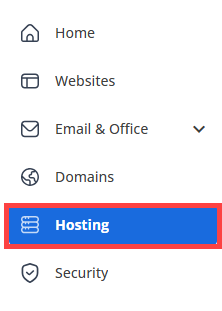
- Once logged in, find and click the Hosting tab on the left side of your Account Manager dashboard.
- Choose the Hosting Package name you want to manage under the All My Hosting Packages section.
- If you have multiple Hosting packages on your account, click the MANAGE button on the Hosting package you want to manage.
- If you only have a single Hosting package on your account, you will be rerouted to the Hosting Overview page.
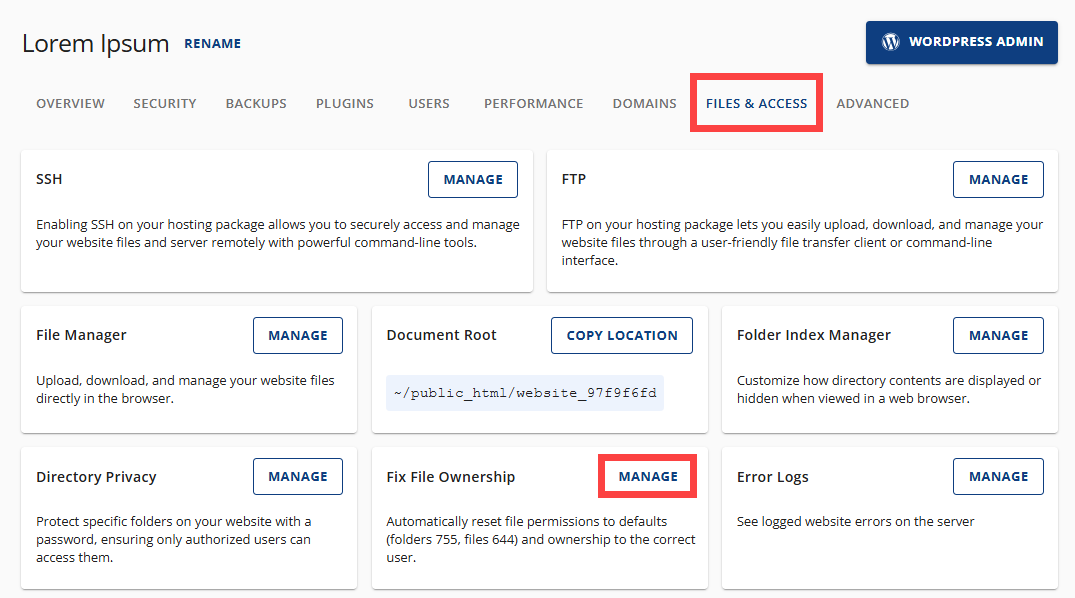
- Select Files and Access from the horizontal menu, look for Fix File Ownership. Click MANAGE.
- Click the tick box, and CONFIRM.
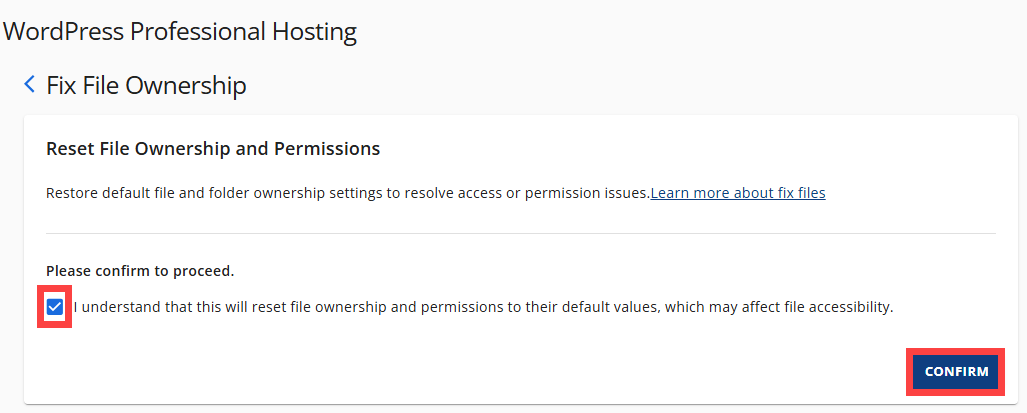
The files and folders' permissions will be restored to the default settings.
Via File Manager
Follow the steps below to change the file permissions using the Fix File Ownership option.
-
- Log in to your Bluehost Account Manager.
- Once logged in, find and click the Hosting tab on the left side of your Account Manager dashboard.
- Choose the Hosting Package name you want to manage under the All My Hosting Packages section.
- If you have multiple Hosting packages on your account, click the MANAGE button on the Hosting package you want to manage.
- If you only have a single Hosting package on your account, you will be rerouted to the Hosting Overview page.
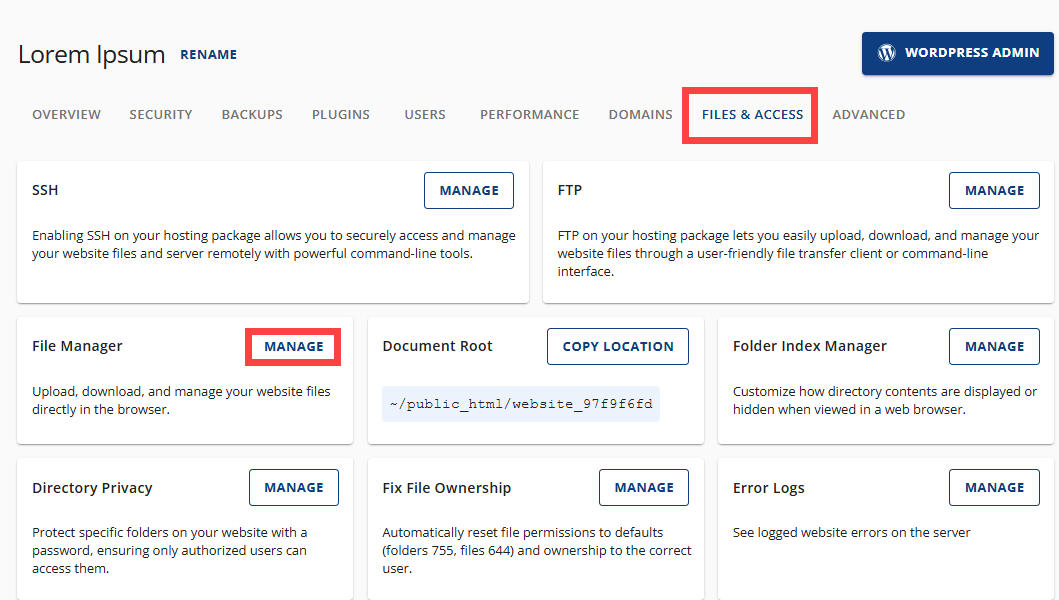
- Select Files and Access from the horizontal menu. Look for File Manager. Click MANAGE , and the file manager will open in a new tab.
- Click on the file or folder for which you wish to change permissions.
- Click the Change Permissions icon at the top of the file manager.
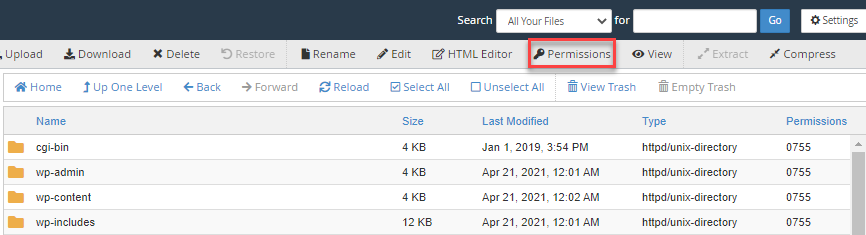
- Choose the permissions you would like the file to have
Default Permissions For Files and Folders
| Default Permissions For A Folder (755) | Read | Group | World |
|---|---|---|---|
| User | ✔ | ✔ | ✔ |
| Group | ✔ | ||
| World | ✔ | ✔ | ✔ |
| Default Permissions For A File (644) | Read | Group | World |
| --- | --- | --- | --- |
| User | ✔ | ✔ | ✔ |
| Group | ✔ | ||
| World |
Understanding Default Permissions for Files and Folders
The table above illustrates the default permissions for files and folders on a server. These permissions are categorized into three groups: User, Group, and World. Each group can have specific levels of access, such as Read, Write, or Execute. Here’s what the permissions mean with real-life analogies:
- Default Permissions for a Folder (755) : This means the folder owner (User) has full access (can read, write, and open the folder), while the Group and World (everyone else) can only read and open the folder, but cannot add or delete files.
- Default Permissions for a File (644) : This means the file owner (User) can read and edit the file, while the Group and World (everyone else) can only read it.
These default permissions ensure security by restricting access while allowing appropriate functionality for collaboration.
Summary
Changing file permissions in your Bluehost File Manager is a simple but critical step for website security. This guide has shown you how to access File Manager, change permissions, and understand default settings, empowering you to securely manage your files and folders.