How to Upload Files Using File Manager
Uploading files is a key part of managing your website or online content. It allows you to update resources, share new information, and keep your hosting environment organized and functional. Whether you're adding images, documents, or code, knowing how to properly upload files ensures smooth operations and helps maintain the performance and accessibility of your site.
How to Upload Files
-
Log in to your Bluehost Account Manager.
-
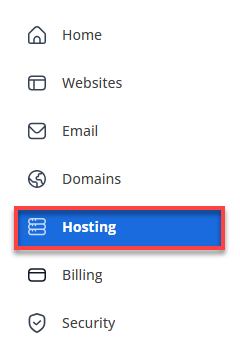
Click Hosting in the left-hand menu.
-
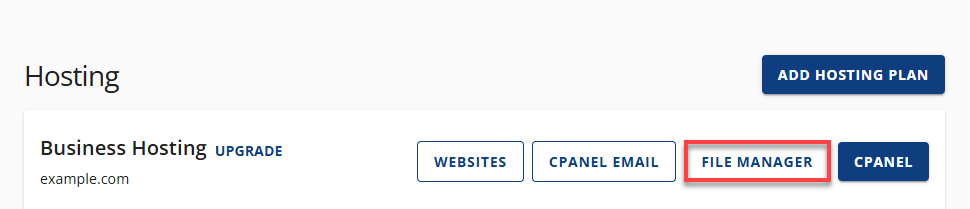
In the hosting details page, click the FILE MANAGER button.
-
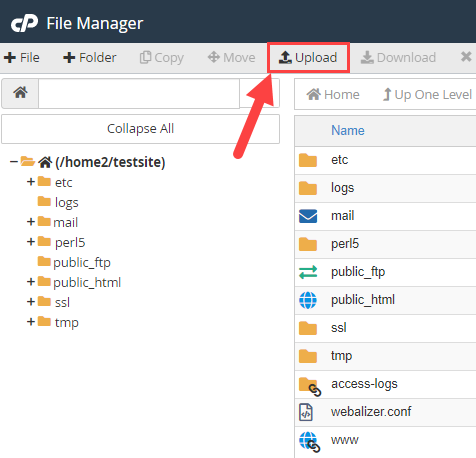
In the File Manager, click Upload towards the top of the toolbar.
-
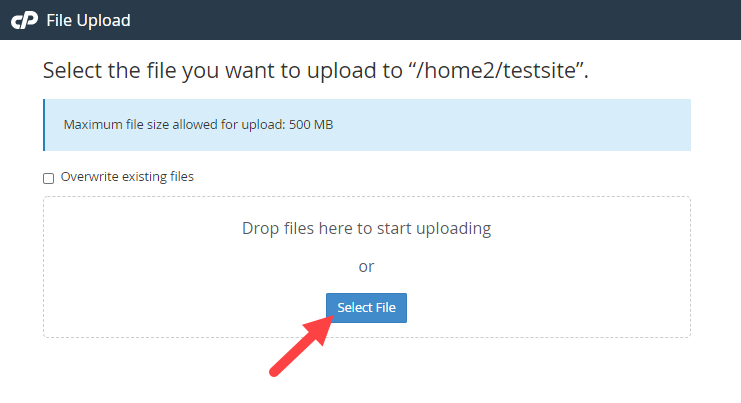
Click the Select File.
-
Locate the file you wish to upload.
The maximum file size allowed for upload is500 MB. If you need to upload a larger file, multiple files, or a folder, please use FTP. To learn more about how to do this, see the Intro to FTP. You can also compress a set of files as a .zip before uploading. If you have an existing file and you would like to overwrite it, don't forget to click the Overwrite existing files checkbox.
Related Articles
- Accessing the File Manager
- Navigating the File Manager
- Uploading Files
- Creating, Removing, and Editing Files
- Copying and Moving Files
- Compressing Files into an Archive (GZip)
- Extracting Files from an Archive
Summary
Uploading files is essential to keeping your website or hosting environment up to date. Whether you're adding new content, replacing outdated resources, or organizing your files, having the ability to upload efficiently ensures your site runs smoothly and reflects the latest changes. Staying on top of file uploads helps you maintain control, improve performance, and deliver a better experience to your users.