How to Upload Files for an Addon Domain
When managing multiple domains under a single hosting account, knowing where to upload files for an addon domain is essential. At Bluehost, we simplify this by automatically assigning each addon domain to its own subdirectory within your public_html folder.
Once you've assigned an addon domain using the Bluehost Account Manager, a dedicated subfolder is created inside your public_html directory. For example:
/public_html/addon_domain_foldername
Upload your website files directly into this subfolder to ensure your addon domain functions correctly.
How to Locate the Addon Domain Directory
If you're unsure which directory is linked to your addon domain:
- Log in to your Bluehost Account Manager.
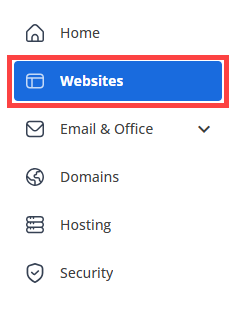
- Navigate to the Websites tab in the main navigation menu.
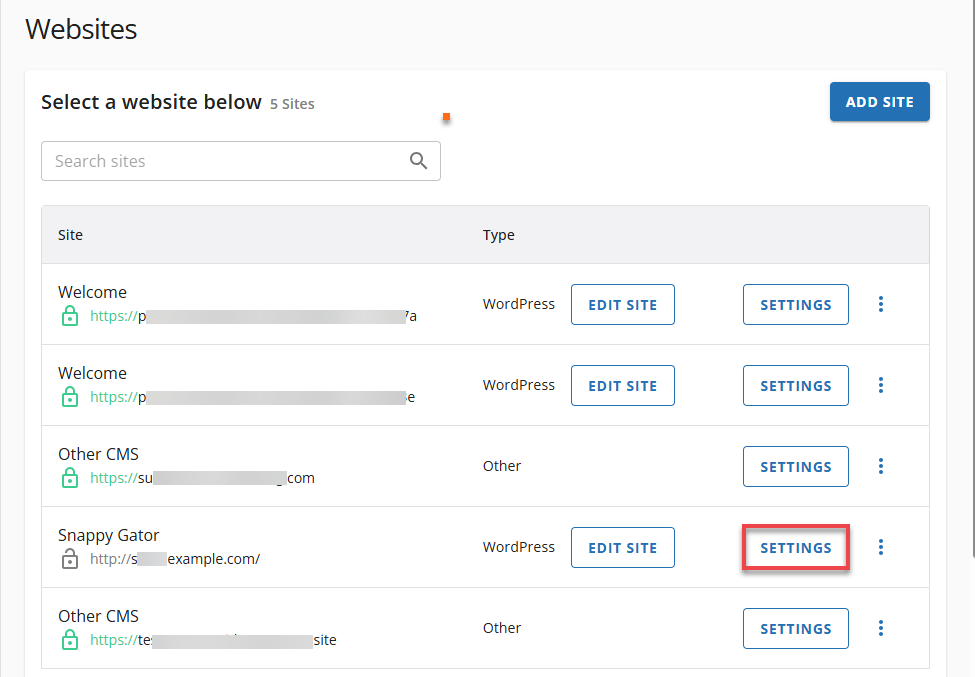
- Click the Settings button for the domain to view the directory.
- In the Website Overview page, scroll down to Quick Connect to see Document Root (e.g.,
public_html/addon_domain_foldername).
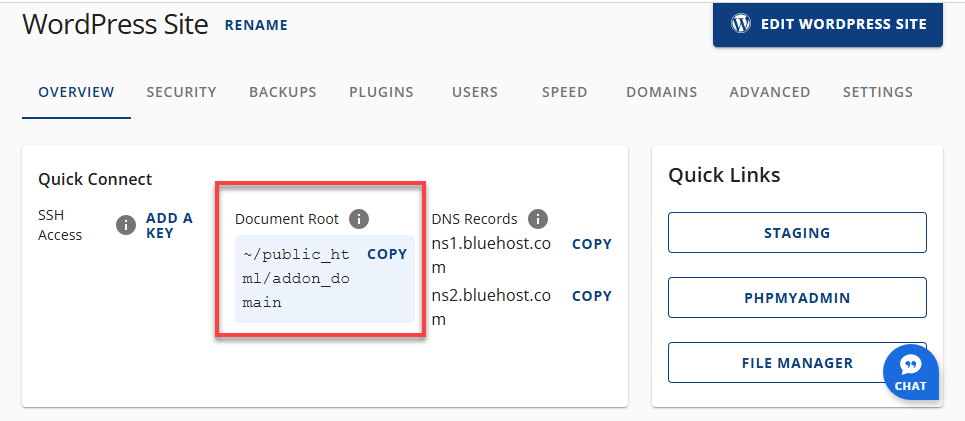
This is the folder where your website files should be uploaded.
Uploading Files
For more detailed instructions on uploading files, check out this article:
- FTP - General FTP Settings
- How to Upload Files Using File Manager
Summary
To upload files for an addon domain, locate the subdirectory created under your public_html folder and upload your website files there. These steps ensure your addon domain is correctly set up and accessible online.