How to Set Up Cron Jobs in Account Manager
Cron Jobs are an automation tool. It allows you to automate specific commands or scripts on your site. You could set a command or script to run at a particular time every day, week, etc. (for example, set a cron job to delete temporary files weekly to free up disk space). This guide will provide instructions on how to create, edit, or delete a Cron Job in Account Manager. Important: You need to know Linux commands well before using cron jobs effectively. Please check your script with your hosting administrator before adding a cron job.
- How to Create a Cron Job
- How to View Existing Cron Jobs
- How to Edit a Cron Job
- View When the Cron Job was Last Run
- How to Delete a Cron Job
- Summary
How to Create a Cron Job
-
Log in to your Bluehost Account Manager.
-
In the left-hand menu, click Websites.
-
Click the MANAGE button located next to the website you want to manage.

-
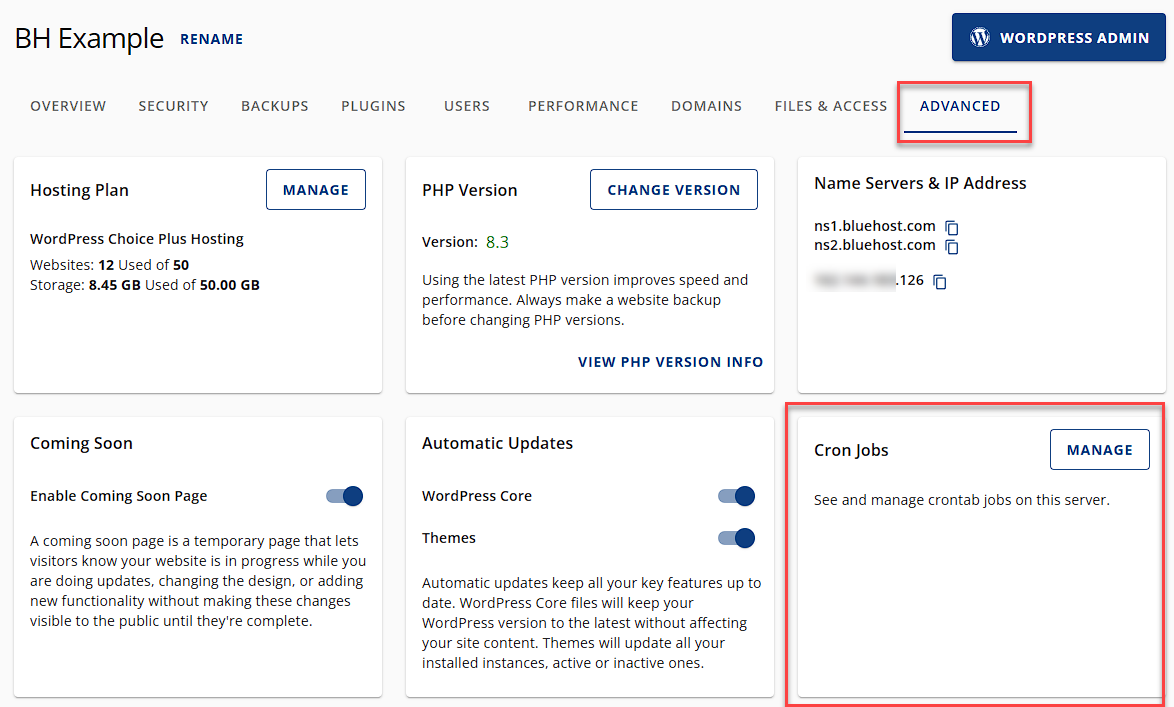
Once you're in the website settings, click the ADVANCED tab, locate the Cron Jobs tile, and click MANAGE.
-
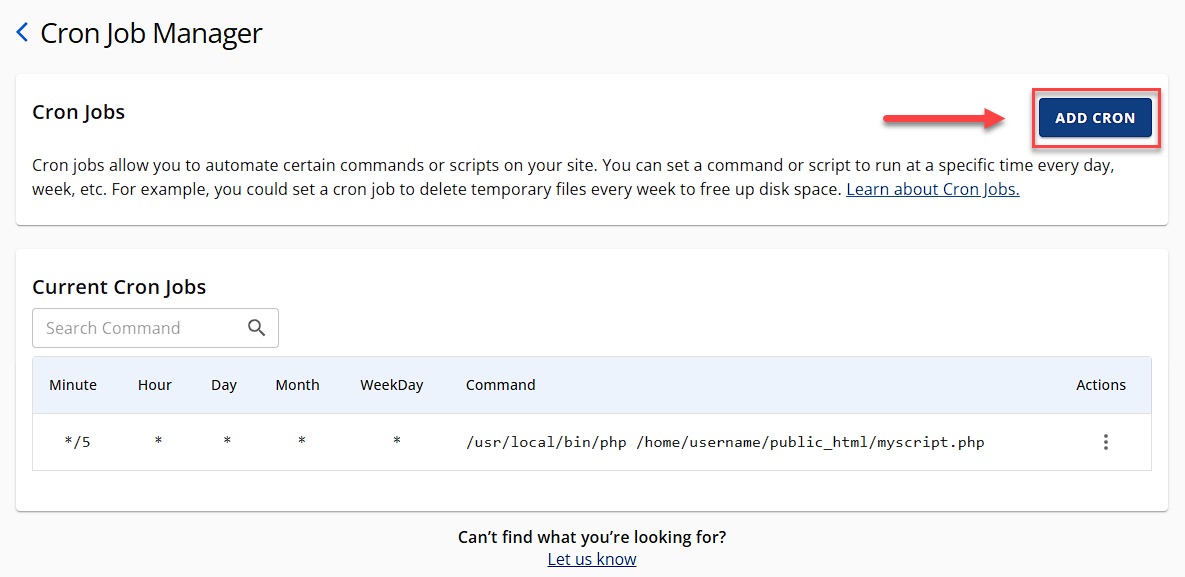
On the Cron Job Manager page, click the ADD CRON button.
-
You will then see your cron job scheduling options:
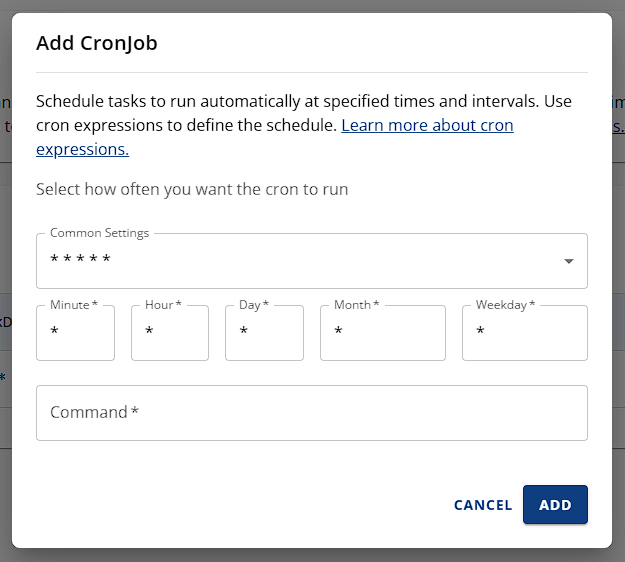
- Common Settings – Use this drop-down menu to automatically fill in all fields except the last one.
- Minute – Specifies the minute when the cron job will run.
- Hour – Specifies the hour when the cron job will run.
- Day – Defines the day of the month the cron job will execute.
- Month – Defines the month the cron job will execute.
- Weekday – Defines the day of the week the cron job will execute.
- Command – The command or script that the cron job will run. If you’re running a script, it should look similar to the example below. ```
/usr/local/bin/php -c /home/username/public_html/myscript.php
4. Set the frequency of your Cron Job using the drop-down box for each setting, or use the **Common Settings** to choose from a list of regularly used intervals. Common Settings include every 15 minutes to once a year.

5. Enter the desired command and click **ADD**.
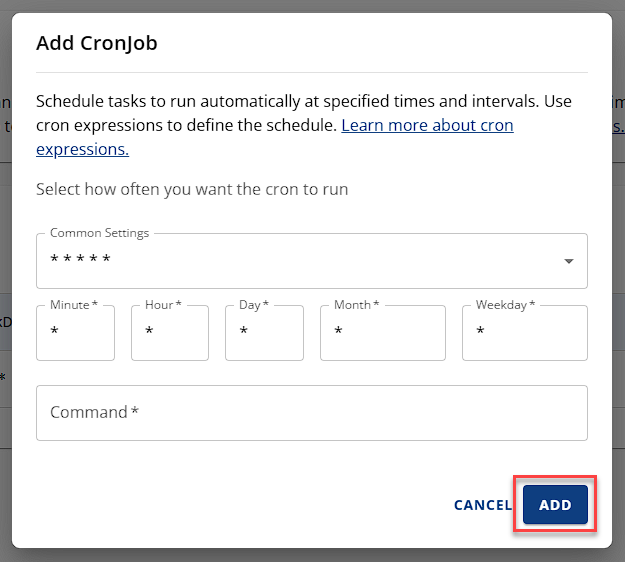
You have successfully created a Cron Job to execute a file at a specific time and date with the desired repetition.
For cPanel, please refer to the How to Set Up Cron Jobs in cPanel article.
## How to View Existing Cron Jobs
The **Current Cron Jobs** section shows your existing cron jobs, allowing you to edit or delete them.

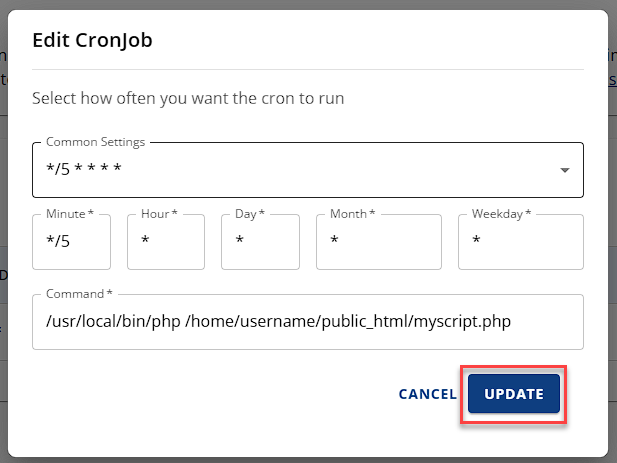
## How to Edit a Cron Job
To edit a cron job, perform the following steps:
1. Locate the cron job you wish to edit and click the**three vertical dots** icon.

2. Select **Edit**.

3. Once you're done updating your cron job, click on the **Update** button.
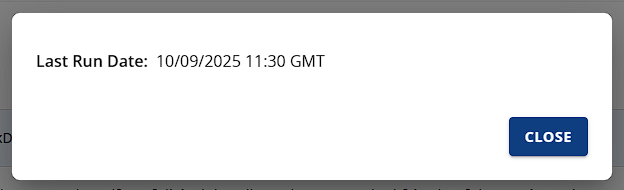
## View When the Cron Job was Last Run
To view when the cron job was last run, follow the steps below:
1. Find the cron job you want to view and click on the **three vertical dots** icon.

2. Select **View Last Run**.

3. In the pop-up window, you will see the information on when your cron job was last run.
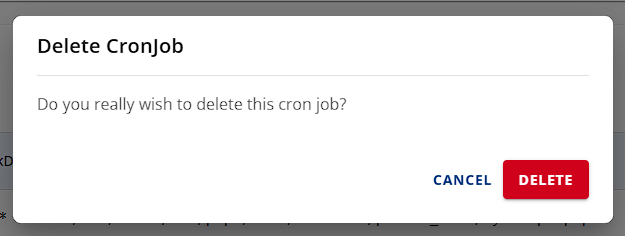
## How to Delete a Cron Job
To delete a cron job, perform the following steps:
1. Find the cron job you want to remove and click on the icon with **three vertical dots**.

2. Select **Delete**.

3. To confirm, click **DELETE** in the pop-up window.
The edit panel has fewer common settings, so if you are having trouble getting the correct interval, copy the command, delete the Cron Job, and recreate it using the Add Cron button.
## Summary
Learn how to use Cron Jobs in Account Manager to automate specific scripts or commands on your website. With Cron Jobs, you can easily schedule a command or script to run at a particular time, day, or week, saving you time and effort. Our guide has step-by-step instructions on how to create, edit, or delete a Cron Job. Also, know the steps to view existing Cron Jobs and edit them if needed. However, it's crucial to learn Linux commands well before using Cron Jobs effectively, and it's always a good idea to check the script with your hosting administrator before using Cron Jobs.