How to Add Email to iPhone, iPad, and Other iOS Device
This guide will show you how to add email to your iPhone and iPad on iOS devices, including setting up IMAP or POP email. Whether you're looking to streamline your email access or troubleshoot setup issues, we've got you covered. Note : To view the correct settings for your email account, log in to your Bluehost control cPanel, go to the Email tab , and select Email Configuration from the side menu. To learn more, check out our article, How To Configure an Email Application - Client Setup SSL/TLS Settings - POP & IMAP.
- Configure Your iOS Device
- IMAP Setup
- POP Setup
- Cannot Verify Server Identity
- How to Save Sent, Drafts, and Trash Emails on the Server
- Summary
Configure Your iOS Device
Follow these simple steps to configure your iOS device and get your email running. Here are the following:
- From your phone's home screen, select the Settings icon.
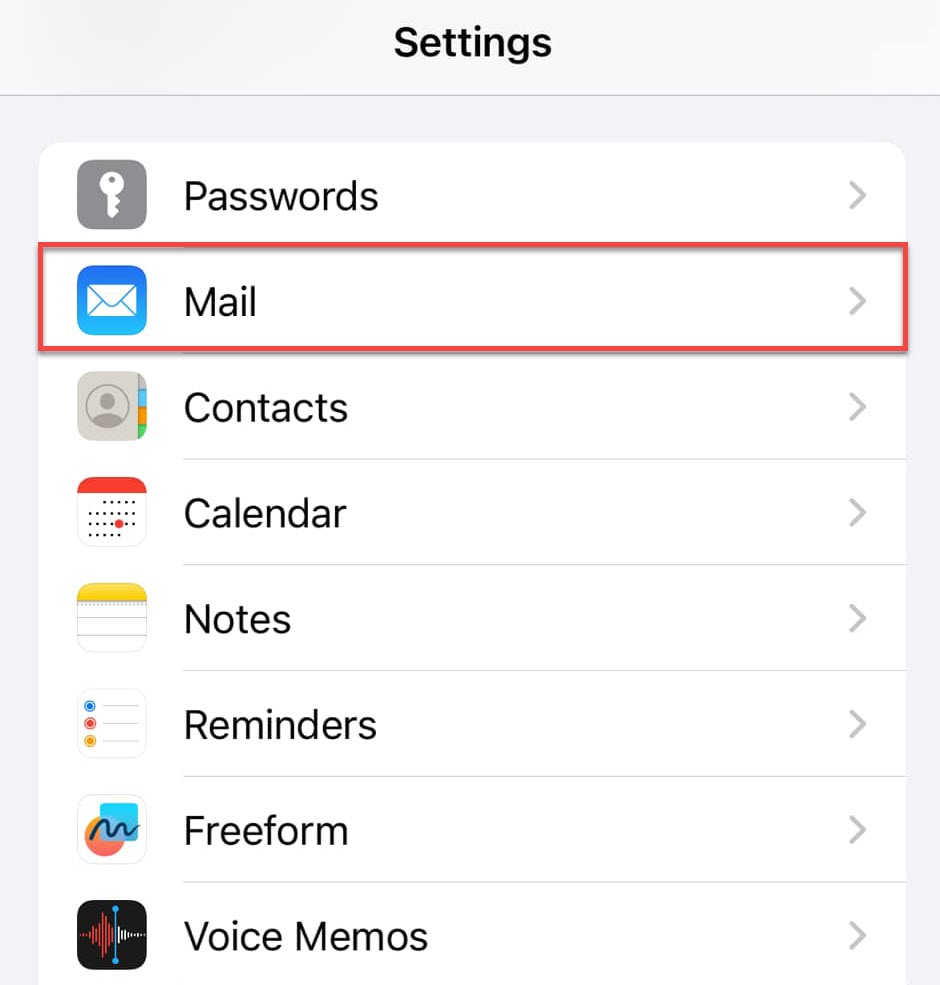
- On the Settings section, scroll down and tap Mail.
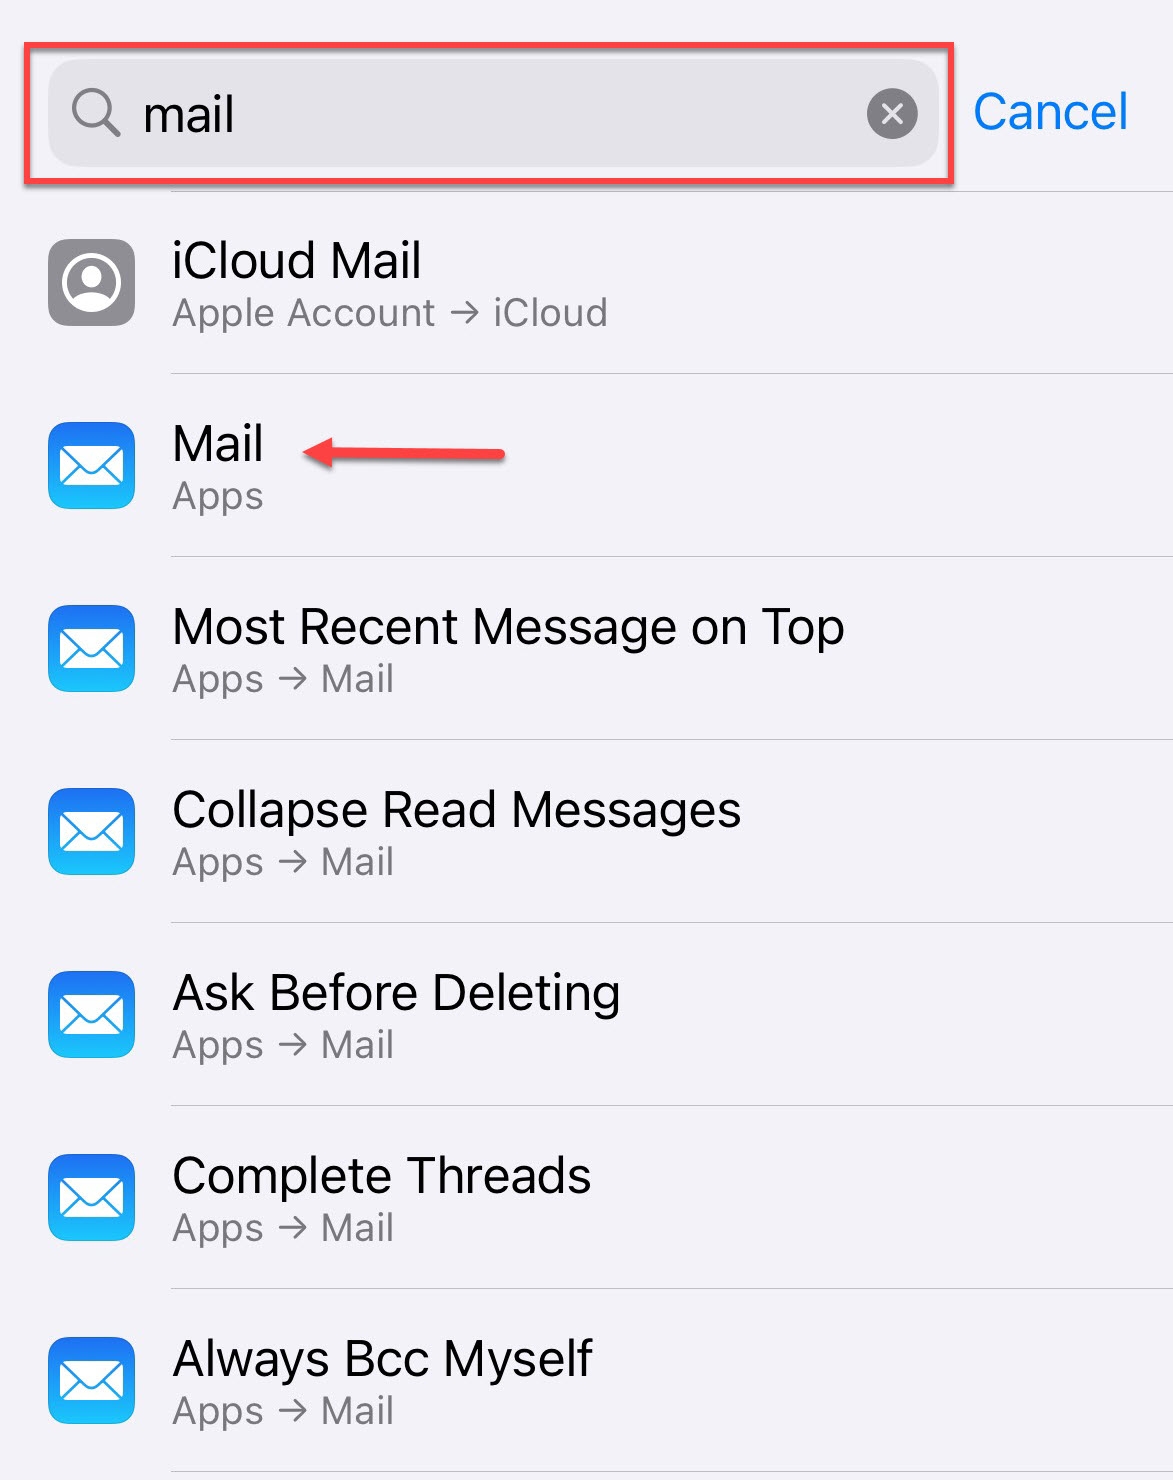
 If you can't find the app, search for Mail instead.
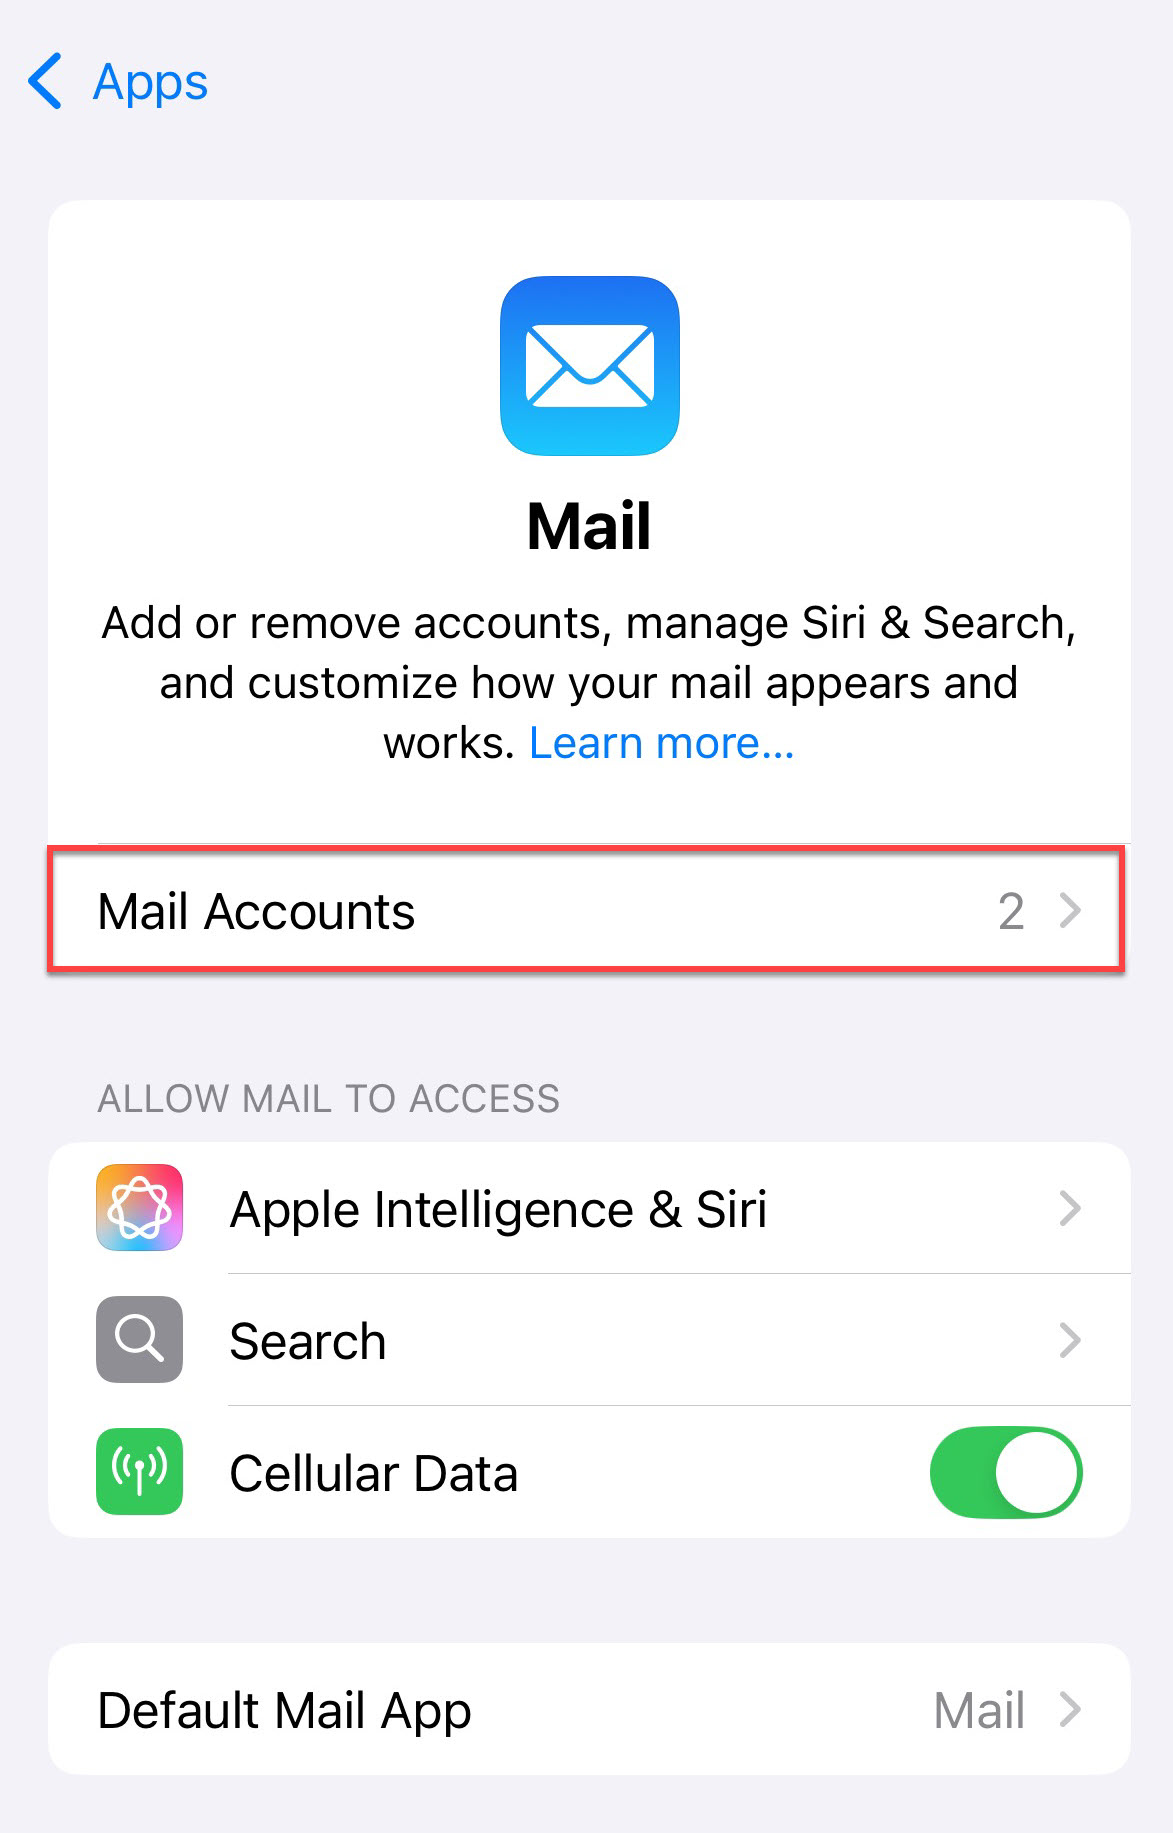
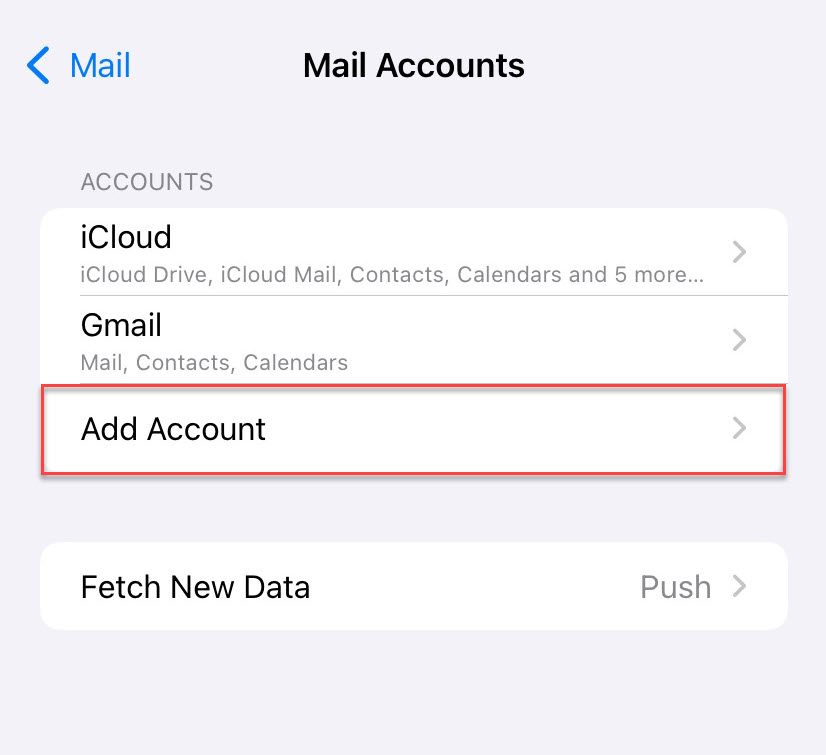
- Tap Mail Accounts.
- Select Add Account.
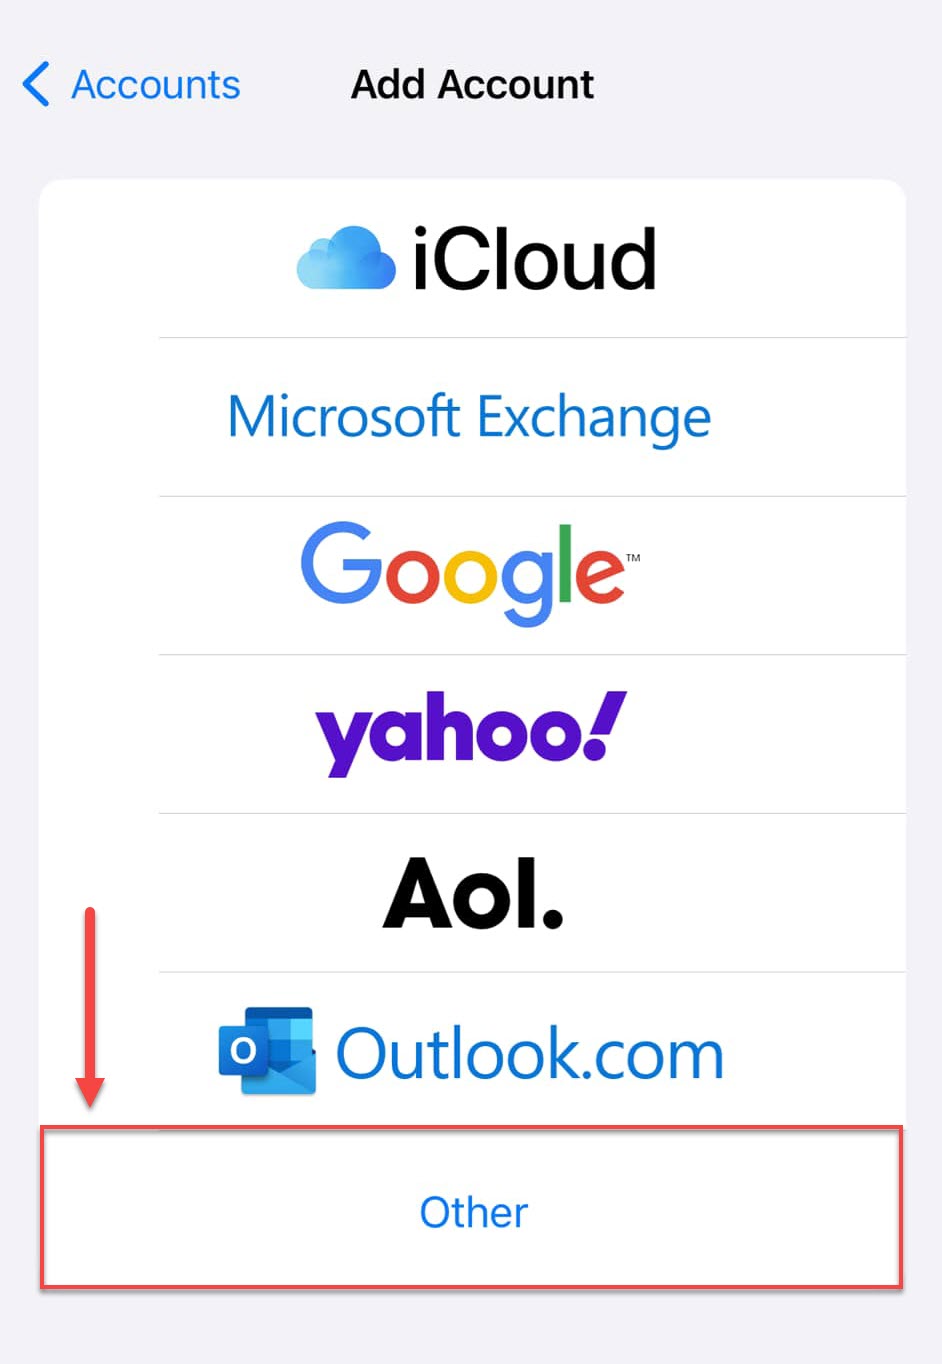
- On the list of email providers, select Other.
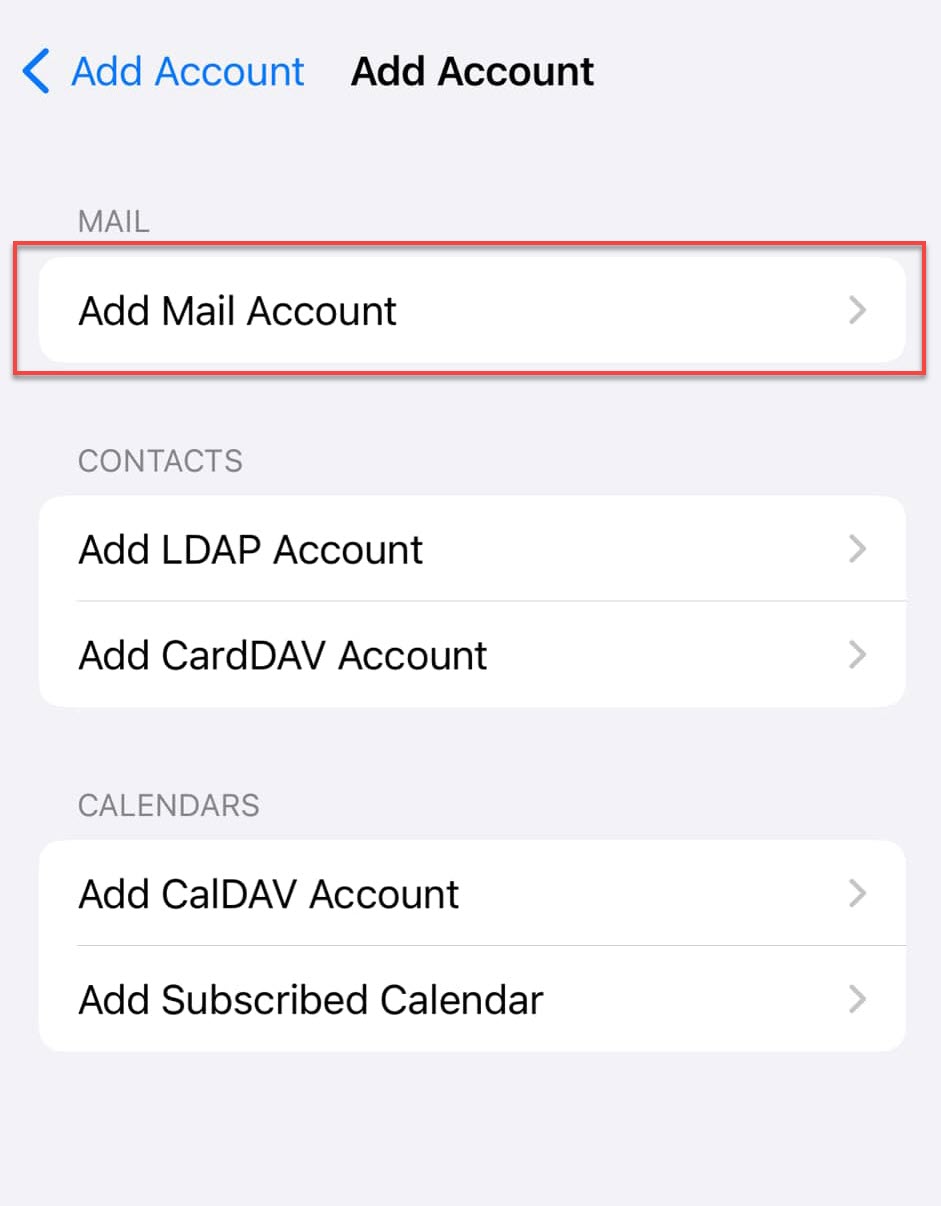
- Tap Add Mail Account.
 The New Account Setup screen will appear, prompting you to enter your email account details.
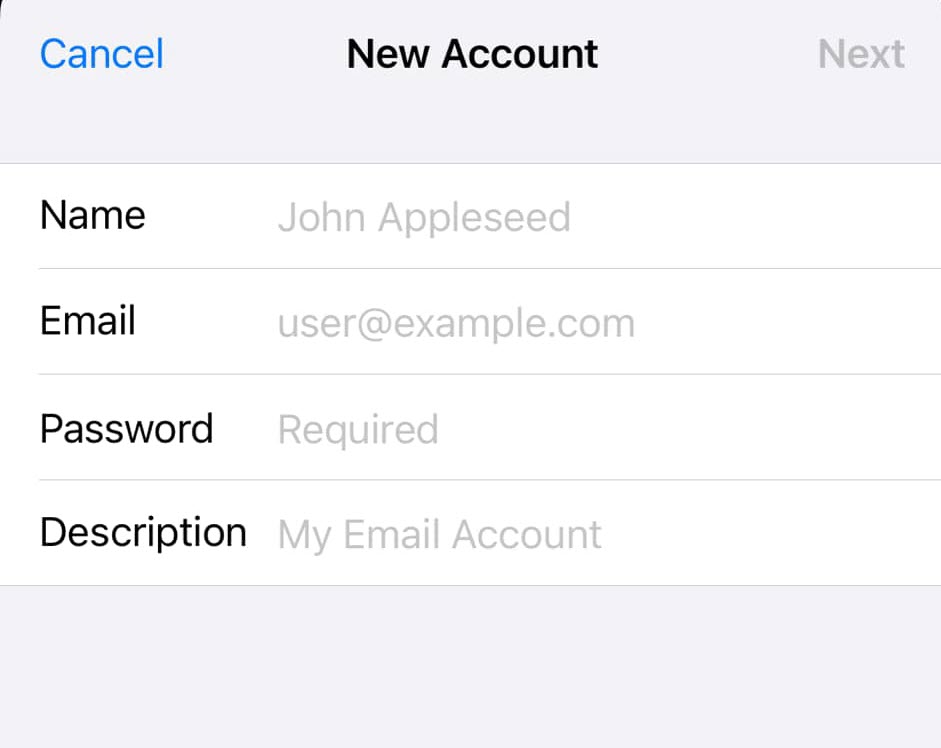
- Name : This is the name that will appear as the sender.
- Email : The email address the customer wishes to add. (Ex. johndoe@example.com).
- Password : The same password you use to log in to Webmail.
- Description : Name of the account on the customer's device.
- Once done, hit Save.
- Tap Next to continue.
Refer to the Email Client Settings section below. Enter your preferred hostnames, port numbers, and encryption techniques for the Incoming Mail and Outgoing Mail servers.
IMAP Setup
- Email address : Your email address. (Ex. johndoe@example.com)
- Password : The same password you use to log in to Webmail
- Username (if asked) : Your email address email address. (Ex. johndoe@example.com)
- Incoming server : imap.titan.email
- Port : 993
- Encryption method : SSL/TLS
- Outgoing server : smtp.titan.email
- Port : 465
- Encryption method : SSL/TLS
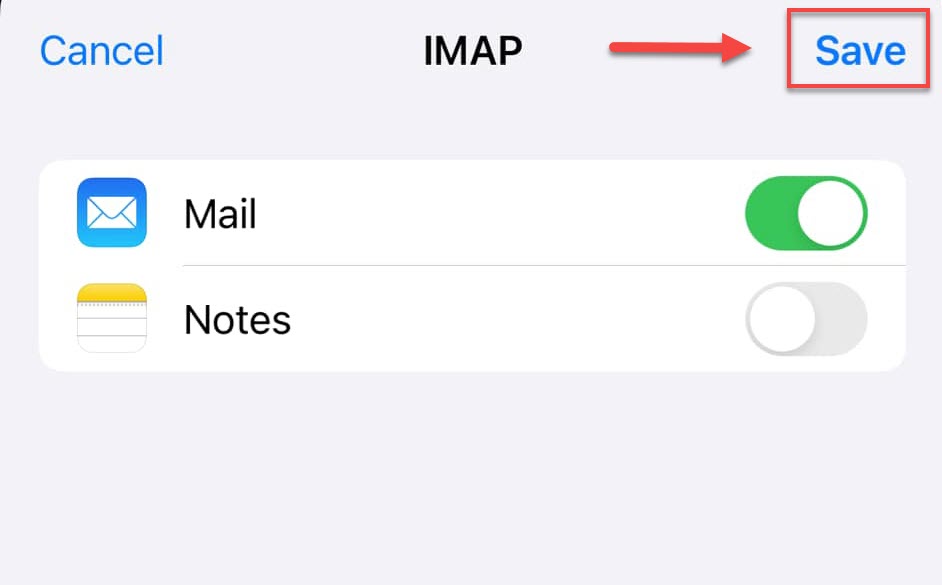
Disable syncing of Notes if it is enabled. Tap Save.
POP Setup
- Email address : Your email address. (Ex. johndoe@example.com)
- Password : The same password you use to log in to Webmail
- Username (if asked) : Your email address email address. (Ex. johndoe@example.com)
- Incoming server : pop.titan.email
- Port : 995
- Encryption method : SSL/TLS
- Outgoing server : smtp.titan.email
- Port : 465
- Encryption method : SSL/TLS
Once you're done, click Next in the upper left corner.
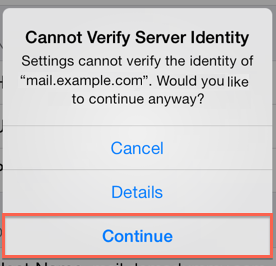
Cannot Verify Server Identity
Cannot Verify Server error message occurs because the certificate is for Bluehost instead of your domain. Click continue to accept the certificate.
How to Save Sent, Drafts, and Trash Emails on the Server
- Go to Settings and search Mail.
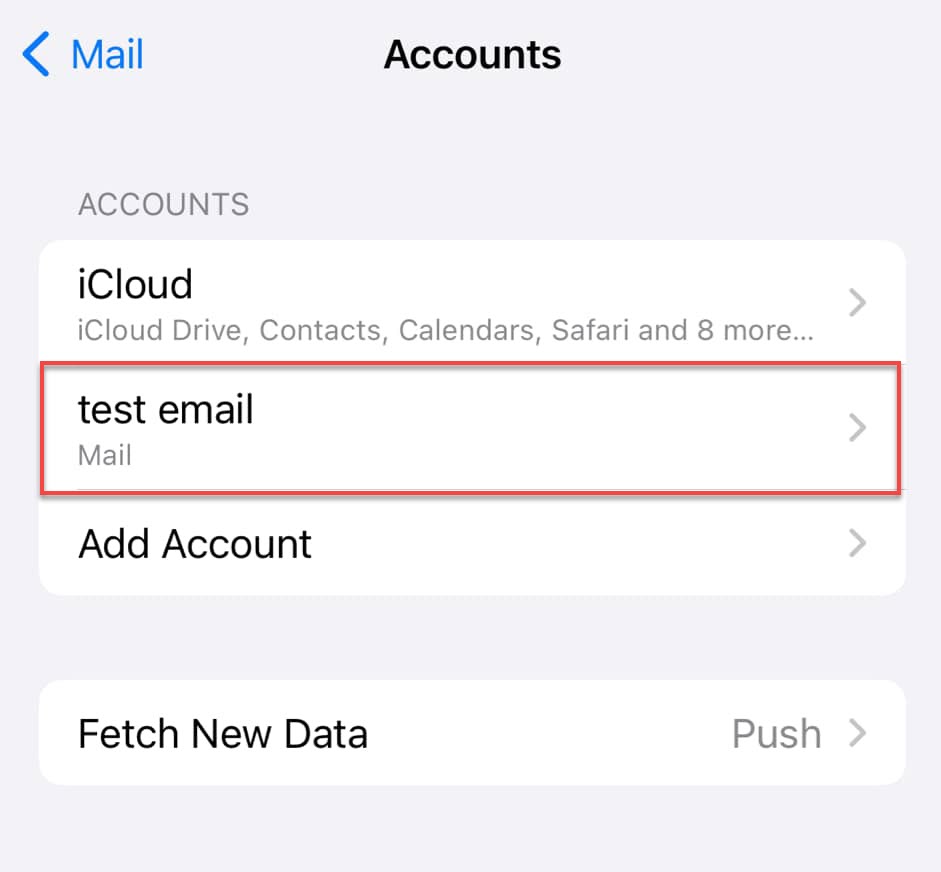
- Go to Mail Accounts.
- Choose your email account.
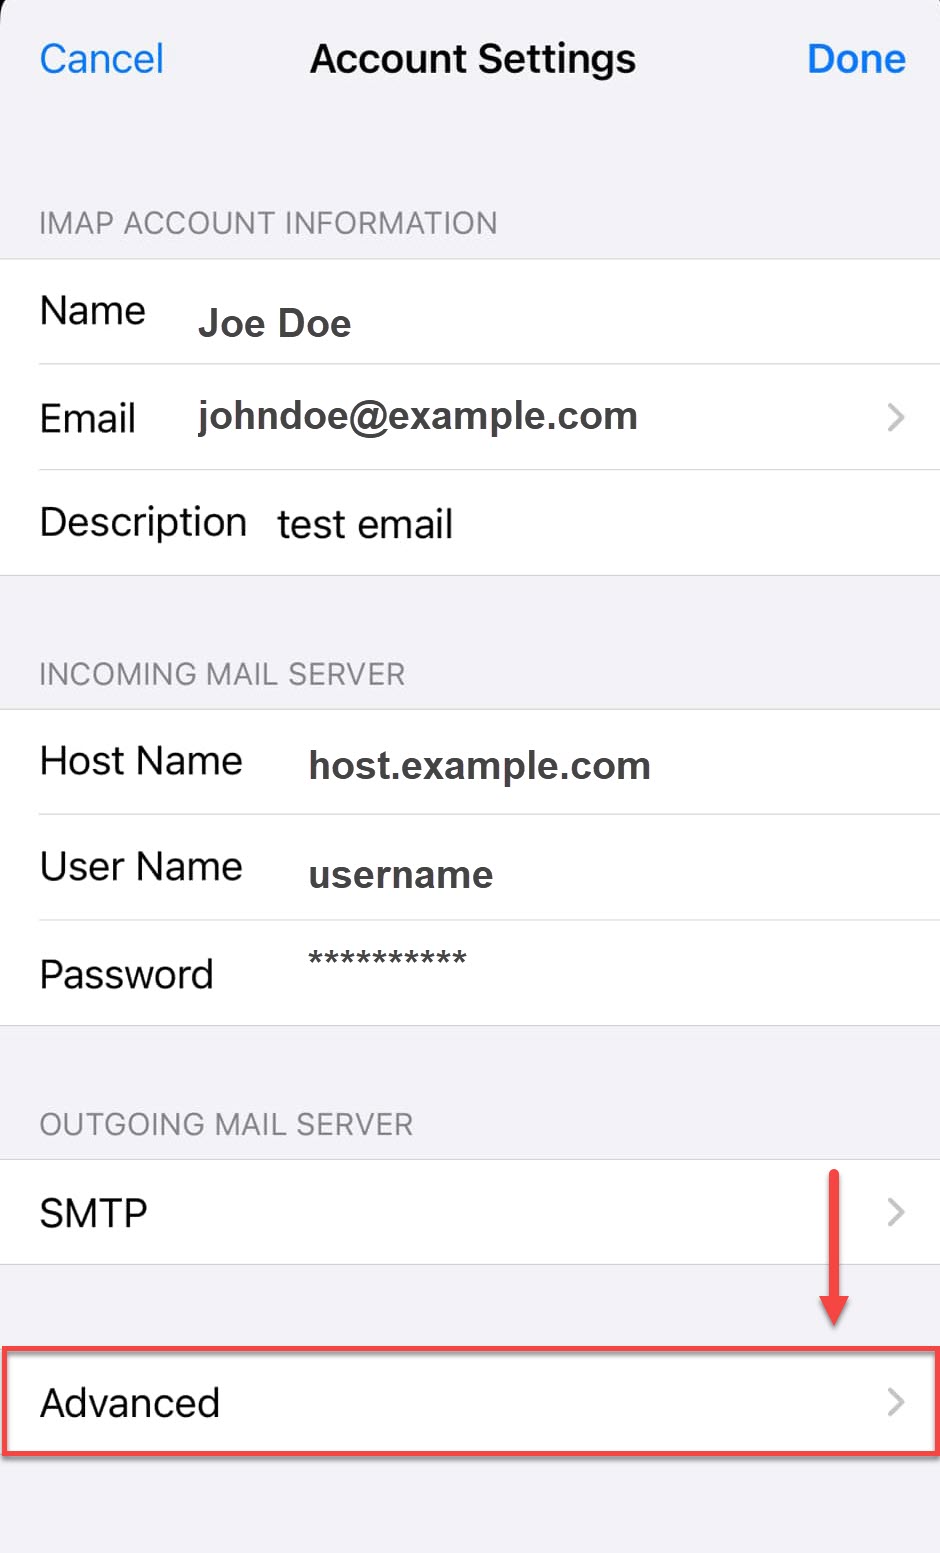
- Once you open your email account, select Account Settings.
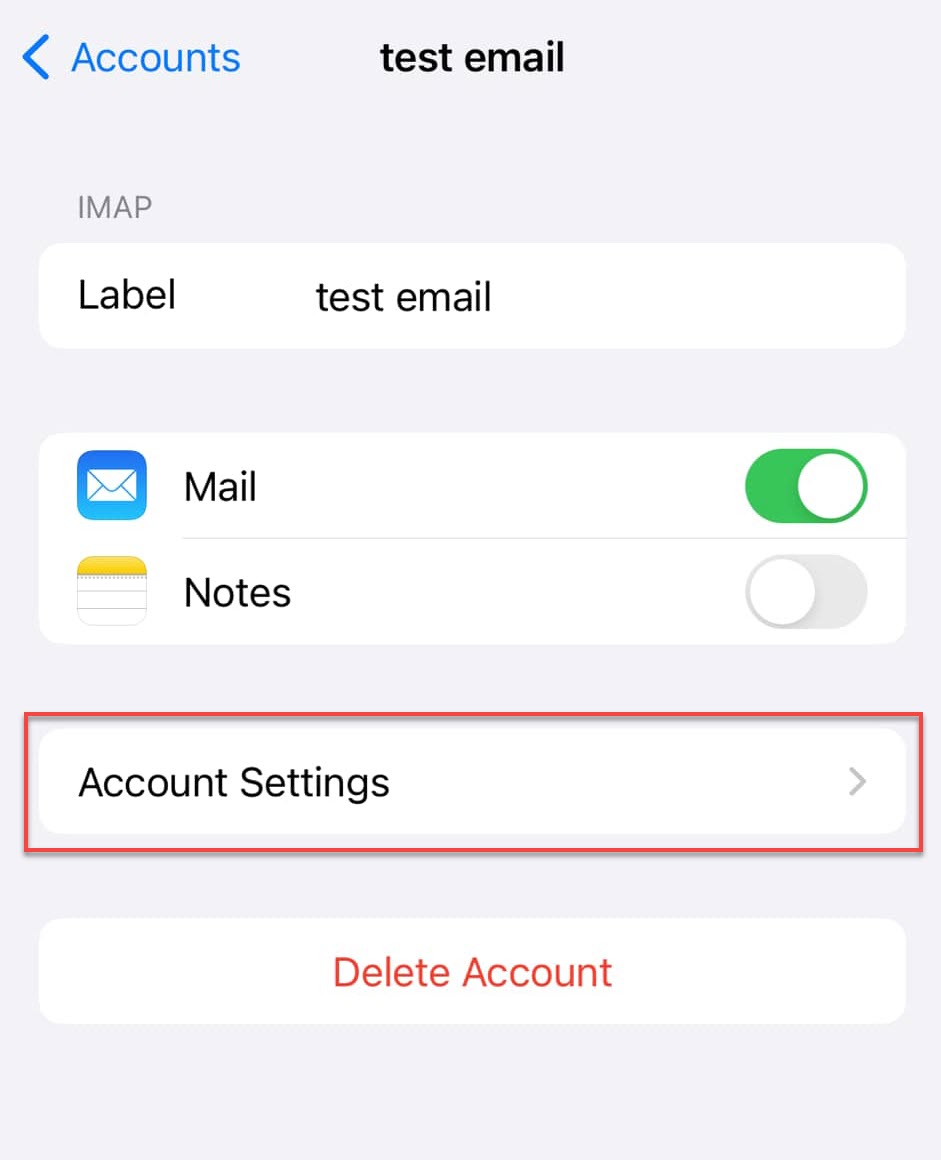
- Scroll down to Advanced.
- Under Mailbox Behaviors , choose the mailbox you wish to configure.
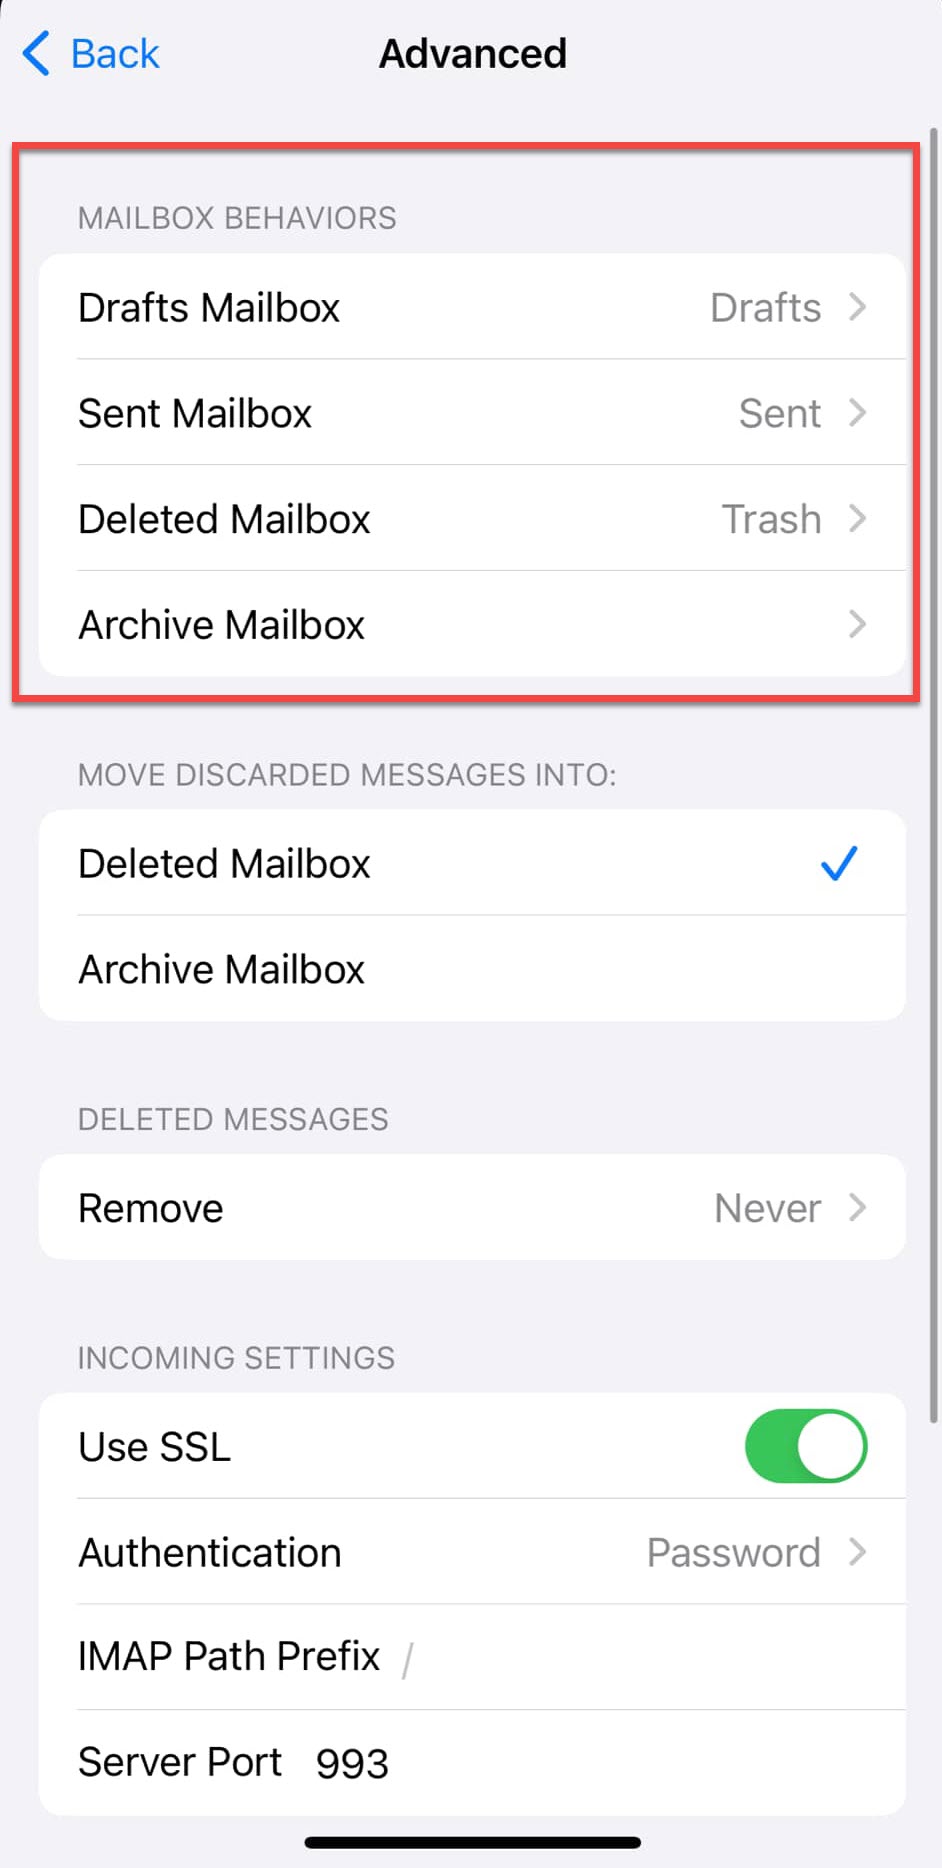
- Choose the corresponding folder on the server in which you wish to save the email.
- Repeat the above steps for any other folders you wish to store on the server.
Summary
Setting up a professional email account on the Apple iPhone or iPad is important to ensure our customers are connected and productive, so we've designed a step-by-step guide to assist them in setting up their email account on their Apple device. Your email can be readily configured by adding the important settings, using secure ports, and confirming server data.