Cloud Mail Autoresponder
Stay Connected While Away: Set Up Autoresponders in Cloud Mail
This guide explains how to use Bluehost Cloud Mail’s autoresponder feature to send automated replies to incoming emails. Autoresponders are useful for situations like vacations or periods of limited email access. Here's what you can do with autoresponders:
- Craft custom messages: Inform senders about your absence and when you expect to return emails.
- Set timeframes: Schedule autoresponders to run during specific dates.
- Manage specific addresses: Activate autoresponder using your primary email address in your domain or activate a vacation notice if messages are reaching your other email addresses.
Click the topics below to learn about Cloud Autoresponders and how to manage them:
Accessing Vacation Notice
The steps below will help you learn how to access your Cloud mail's Vacation notice.
- Log in to Cloud Mail.
- Enter your email address.
- Input your password associated with the email address you want to log in to.
- Click the Sign in button.
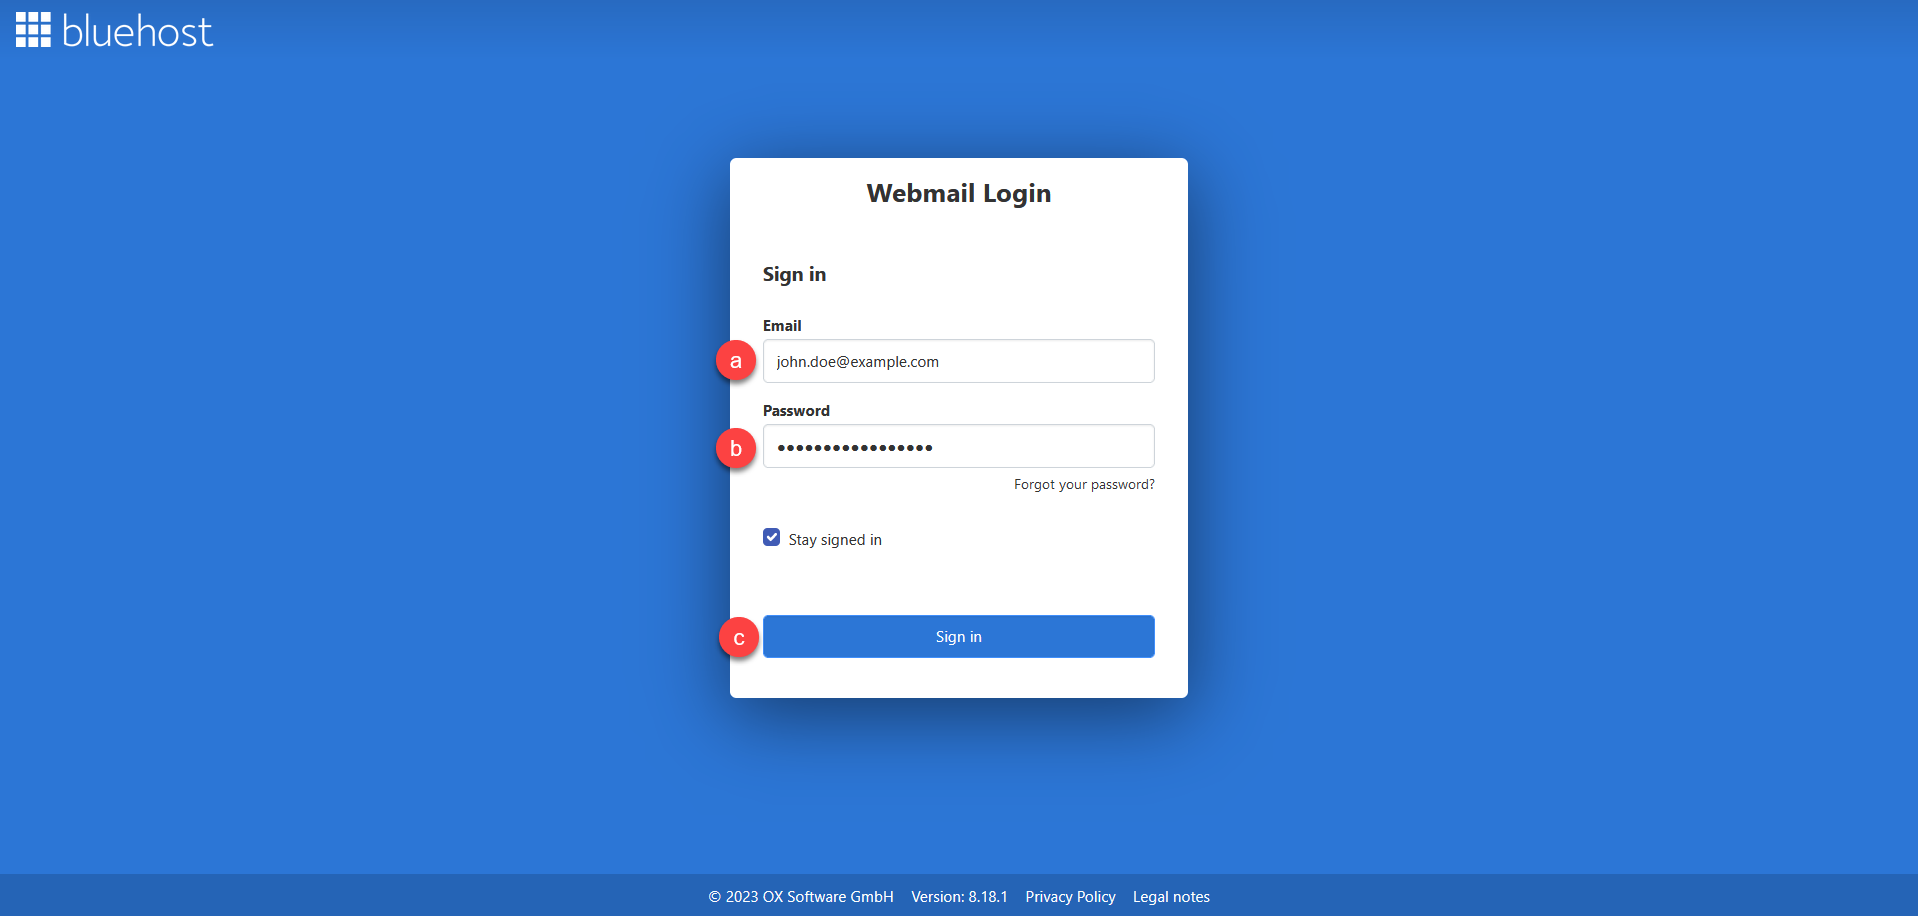 Tip: Enable the Stay signed in option by ticking the box to ensure your session remains active, preventing automatic logouts and the need to log in repeatedly.
 - Once logged in, click the Settings (gear) icon in the menu bar.
- Click the Vacation notice... dropdown option.
Enabling Vacation Notice
The steps below will help you learn how to enable your Cloud mail's Vacation notice.
- Log in to Cloud Mail.
- Enter your email address.
- Input your password associated with the email address you want to log in to.
- Click the Sign in button.
Tip: Enable the Stay signed in option by ticking the box to ensure your session remains active, preventing automatic logouts and the need to log in repeatedly. - Once logged in, click the Settings (gear) icon in the menu bar.
- Click the Vacation notice... dropdown option.
- Click the Enable Vacation notice
 toggle button.
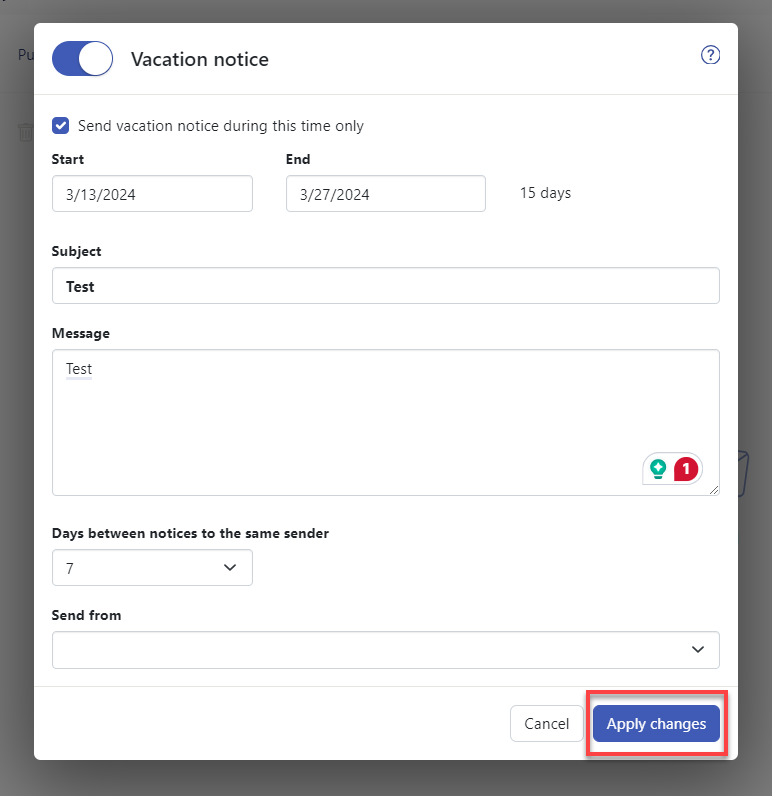
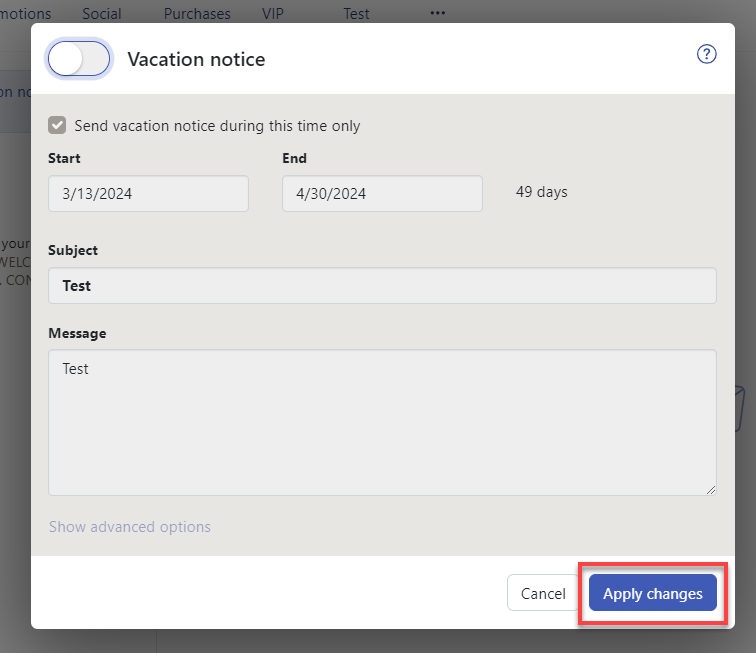
 - To define the time range for sending the vacation notice, enable Send vacation notice during this time only. Set the start and end date. Note: Depending on the configuration, this setting might not be available.
- Enter a subject and a text for the vacation notice.
- In order to display all options, click on Show advanced options.
- You can specify an interval for sending a vacation notice if there are several emails from the same sender.
- You can specify the sender’s address when sending the vacation notice.
- The vacation notice will be sent if messages are reaching your primary email address. You can also activate a vacation notice if messages are reaching your other email addresses.
- Click the Apply changes button.
The vacation notice will be inputted as an email filter, and you have the option to modify it within the email filter settings. Note: If a vacation notice is active, the following is displayed:
- On the email settings page, the Vacation notice button is marked with an additional icon.
- In the Email app, a notification will be displayed above the list view. If you click on the notification, the Vacation notice window will open.
Disabling Vacation Notice
The steps below will help you learn how to disable your Cloud mail's Vacation notice.
- Log in to Cloud Mail.
- Enter your email address.
- Input your password associated with the email address you want to log in to.
- Click the Sign in button.
Tip: Enable the Stay signed in option by ticking the box to ensure your session remains active, preventing automatic logouts and the need to log in repeatedly. - Once logged in, click the Settings (gear) icon in the menu bar.
- Click the Vacation notice... dropdown option.
- Click the Disable Vacation notice
 toggle button.
- Click the Apply changes button.
 Note: If a vacation notice is active, the following is displayed:
- On the email settings page, the Vacation notice button is marked with an additional icon.
- In the Email app, a notification will be displayed above the list view. If you click on the notification, the Vacation notice window will open.
Summary
In conclusion, Cloud Mail autoresponders offer a convenient way to stay connected while you're away. With autoresponders, you can:
- Craft custom messages to inform senders of your absence and when you expect to return emails.
- Schedule autoresponders to run during specific dates, ensuring your contacts receive a timely notification.
- Activate autoresponders for specific email addresses, giving you control over which messages receive a response.
Enabling and disabling autoresponders is a simple process. Next time you'll be out of the office, try Cloud Mail autoresponders to maintain a professional presence and keep your inbox manageable upon your return. Back to Top ↑