How to Set Up Bluehost Professional Email MX and TXT Records
Setting up a Professional Email on Bluehost is essential for branding and communication. If you're using Bluehost and want to integrate Professional Email, correctly configuring your MX and TXT records is crucial. This guide walks you through the exact steps to verify your domain and activate Professional Email services.
Professional Email Set Up
- Log in to your Bluehost Account Manager.
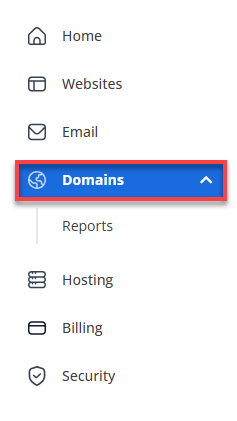
- In the left-hand menu, click Domains.
-
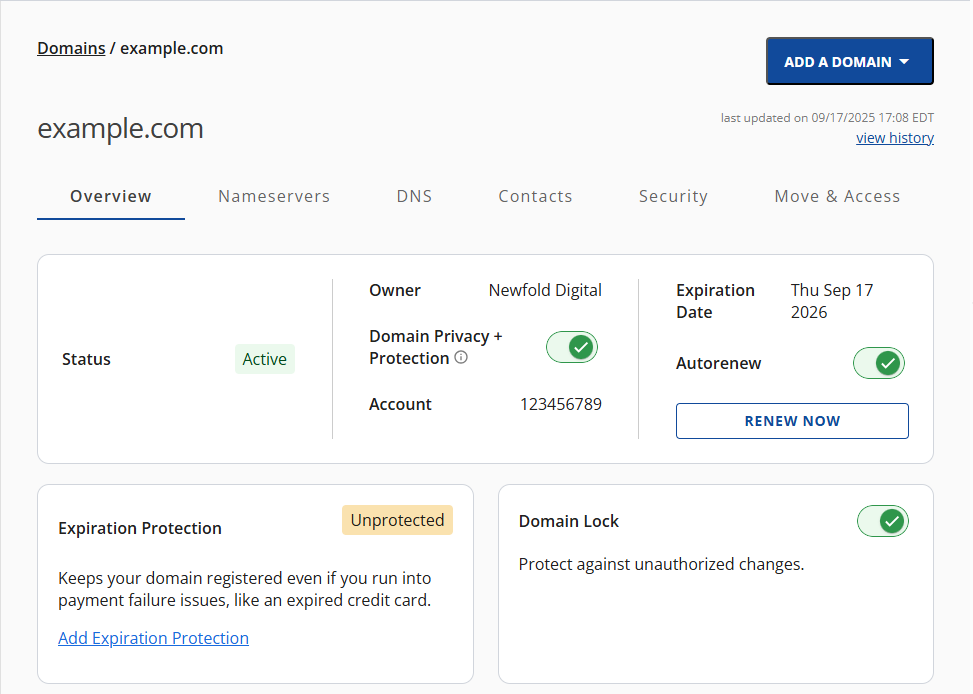
If you have one domain in your account, you will be taken directly to the domain management panel.
-
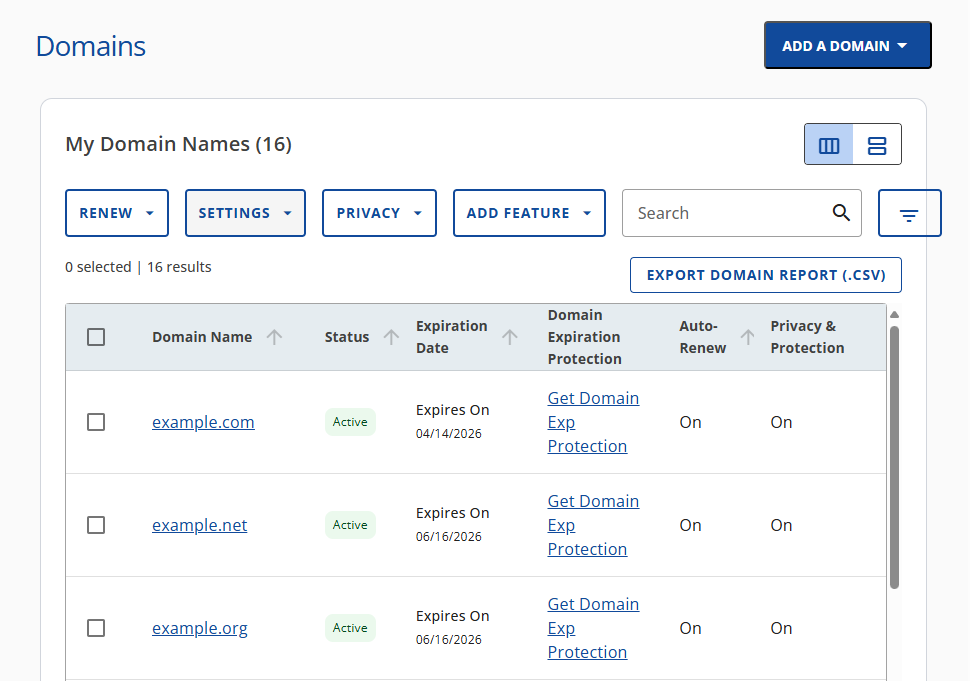
If you have multiple domains in your account, click the domain you wish to manage to access the domain management panel.
-
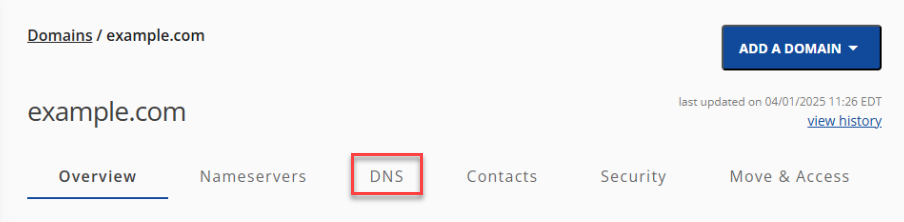
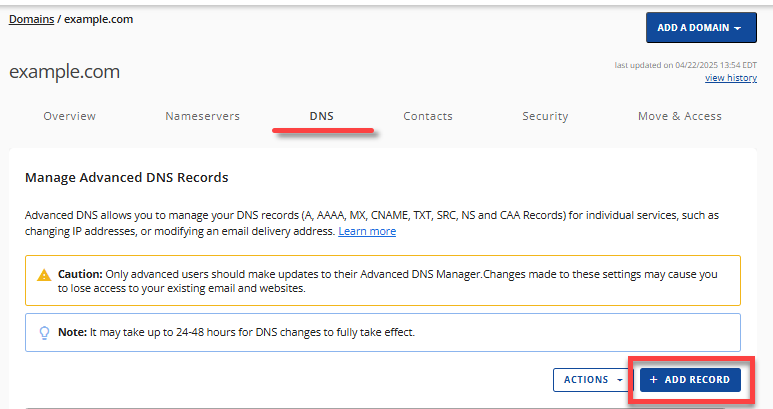
Click the DNS tab.
-
In the Manage Advanced DNS Records section of the DNS tab, click the + ADD RECORD button on the right.
-
You can either add Single or Multiple Advanced DNS records.
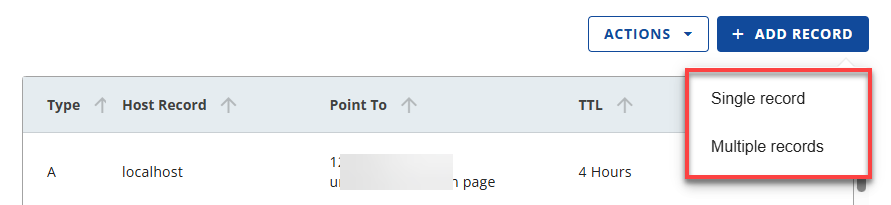
- If you choose the Single record option, you can only add one DNS record at a time.
-
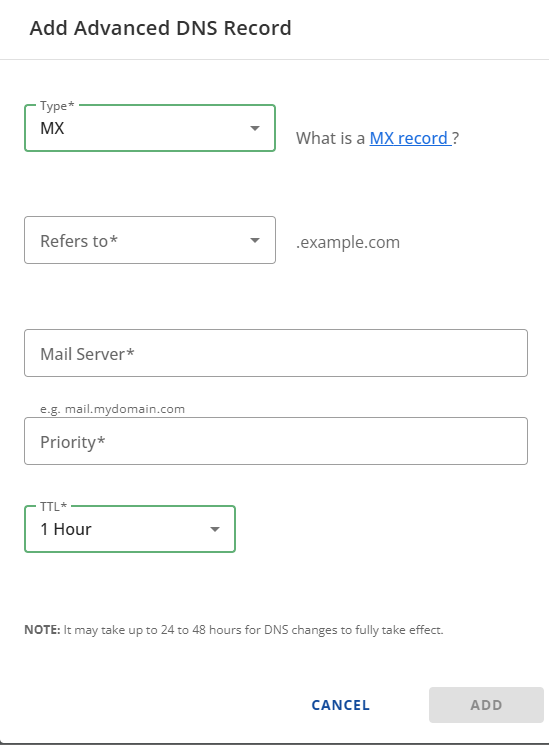
Select the record type (MX/TXT Records) and enter the values below.
-
Click ADD to save the new DNS record.
- If you choose the Multiple records option, you can add one or more DNS records.
-
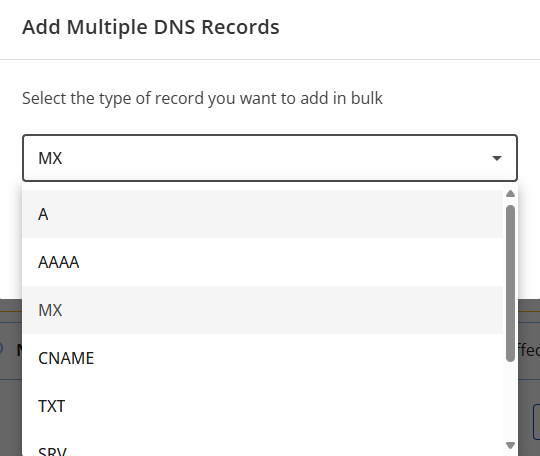
Select the record type (MX/TXT Records) from the dropdown and click CONTINUE.
-
Enter the values below, then click the ADD MORE RECORDS button to add more DNS records.

-
Click the SAVE button.
-
Ensure there are no conflicting MX and TXT records.
-
Wait for the DNS changes to update across the Internet.
-
Test sending and receiving emails.
The Bluehost Professional Email DNS Settings are listed below. You will find the MX and SPF records.
MX Records ( Mail Exchange)
| MX1 | Value |
|---|---|
| Refers to | @ |
| Mail server | mx1.titan.email |
| Priority | 10 |
| TTL | 1 Hour |
| MX2 | Value |
| --- | --- |
| Refers to | @ |
| Mail server | mx2.titan.email |
| Priority | 20 |
| TTL | 1 Hour |
TXT/SPF Record
| TXT | Value |
|---|---|
| Refers to | @ |
| TXT Value | v=spf1 include:spf.titan.email ~all |
| TTL | 1 Hour |
Summary
Setting up a Professional Email on Bluehost is a straightforward process that enhances your branding and communication. You can successfully activate your Professional Email services by accessing your Bluehost account, configuring your DNS settings, and adding the necessary MX and TXT records. It’s important to ensure no conflicting records and allow some time for the DNS changes to propagate. Once completed, you can test your email functionality to confirm everything works smoothly. With these steps, you can establish a professional email address that reflects your brand identity.